
Unboxing and Inventory
Begin by carefully unboxing all components‚ including poles‚ corner connectors‚ canvas‚ floor liner‚ and hardware. Ensure all parts are present and undamaged before proceeding.
Key components: A-poles‚ 4-corner supports‚ roof bars‚ canvas‚ floor liner‚ and necessary hardware. Check for tools like an Allen wrench and zipper pulls to aid assembly.

1.1 Checking the Components
Start by verifying the integrity of all components upon unboxing. Ensure the poles‚ corner connectors‚ and roof bars are free from damage or bends. Inspect the canvas for any tears or holes‚ as this is critical for maintaining the tent’s structural integrity and light-proofing.
Key components to check: A-poles (vertical supports)‚ 4-corner connectors (for frame stability)‚ roof bars (for canvas attachment)‚ and the canvas itself. Examine the floor liner for punctures and ensure all zippers function smoothly. Verify that hardware such as screws‚ bolts‚ and Allen wrenches are included and accounted for. If any part is missing or damaged‚ contact the supplier immediately to avoid delays in assembly. Properly checking each component ensures a smooth and successful setup process.
1.2 Tools and Materials Needed
To efficiently assemble a 4×8 grow tent‚ gather the necessary tools and materials beforehand. Start with an Allen wrench for securing bolts and connectors‚ as most frames use Allen bolts. Zip ties are handy for organizing wires or securing loose parts. A rubber mallet is useful for gently tapping pieces into place without causing damage.
Additional tools: Measuring tape for alignment‚ pliers for gripping small parts‚ and a step ladder for reaching high areas. Ensure the workspace is clean and dry‚ and consider having a bucket for organizing hardware. Optional items include gloves for protection and a helper for easier canvas installation. Proper preparation ensures a smooth assembly process.
Preparing the Workspace
Select a flat‚ dry location for the tent. Ensure the area is clear of debris. Lay down a protective tarp or liner to safeguard the floor from damage and moisture.
2.1 Choosing the Ideal Location
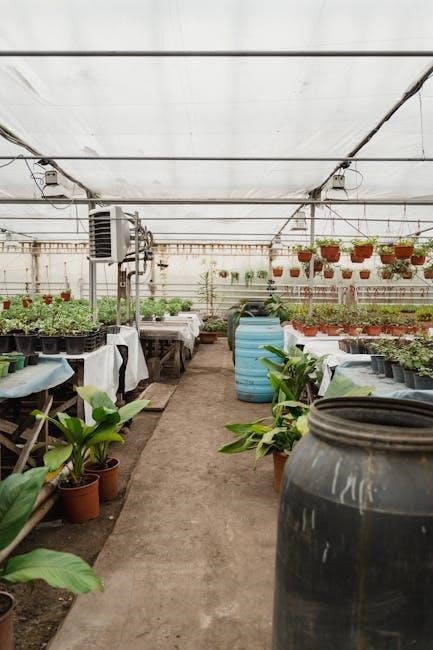
When selecting a location for your 4×8 grow tent‚ ensure it is placed on a flat‚ stable surface to prevent uneven assembly and potential structural issues. Avoid areas prone to moisture or humidity‚ as this can compromise the integrity of the tent and its contents. Ideally‚ choose a location with good ventilation to maintain airflow and prevent the buildup of heat and condensation. Additionally‚ ensure the space is large enough to accommodate the tent’s dimensions (4×8 feet) with some extra clearance for easy access and maintenance. Proper lighting and electrical access are also crucial for setting up grow lights and other equipment. By carefully evaluating these factors‚ you can create an optimal environment for your grow tent setup.
2;2 Setting Up the Workspace
Clear a large‚ flat area to accommodate the 4×8 grow tent and its components during assembly. Cover the floor with a protective sheet or tarp to prevent damage and simplify cleanup. Organize all tools and hardware‚ such as Allen wrenches and zip ties‚ within easy reach. Ensure good lighting to visibility during assembly. Position the tent frame and canvas nearby to streamline the process. Avoid clutter to minimize tripping hazards and ensure smooth workflow. Double-check that the workspace is well-ventilated and free from moisture to protect the tent materials. Finally‚ confirm that all components and tools are ready before beginning assembly.
- Use a protective cover for the floor.
- Organize tools and hardware.
- Ensure proper lighting and ventilation.

Assembling the Frame
Start by connecting the A-poles to the corner connectors‚ ensuring they are securely seated. Attach the roof bars to complete the frame structure‚ following the manufacturer’s instructions carefully.
- Connect A-poles to corner connectors;
- Attach roof bars for stability.
- Double-check all connections for tightness.
3.1 Connecting the Poles
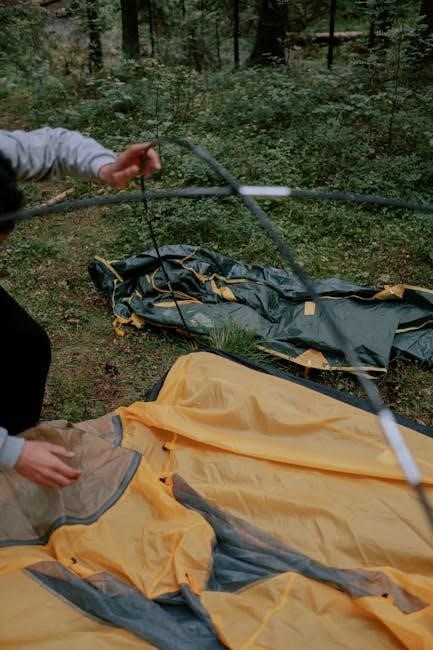
To begin assembling the frame‚ identify the A-poles and roof bars. Attach the A-poles to the corner connectors securely‚ ensuring they are tightly fitted for stability.

Next‚ connect the roof bars to the tops of the A-poles‚ forming the frame’s structure. Make sure all connections are snug and properly aligned to maintain the frame’s integrity.
Double-check that all poles are fully seated in their connectors and that the frame is square and even. If any connections feel loose‚ tighten them using the provided tools‚ such as an Allen wrench‚ to ensure stability.
Avoid forcing pieces together‚ as this could cause damage. If a connection is difficult‚ verify that the correct poles and connectors are being used. Following the manufacturer’s instructions carefully will help prevent errors and ensure a sturdy frame for your grow tent.
3.2 Attaching the Corner Supports
Once the poles are connected‚ attach the corner supports to reinforce the frame’s stability. Align each corner support with the corner connectors on the poles‚ ensuring they fit snugly.
Secure the supports using the provided hardware‚ such as bolts or clips‚ tightening them firmly to prevent movement. Make sure the supports are evenly distributed and properly aligned with the frame.
Double-check that all corner supports are tightly attached‚ as they provide critical structural integrity to the grow tent. If any support feels loose‚ tighten it immediately to maintain the frame’s balance and prevent instability during use.
Avoid over-tightening‚ as this could damage the connectors; Once all supports are in place‚ gently shake the frame to ensure it is sturdy and ready for the next assembly steps.
3.3 Securing the Frame
After assembling the poles and corner supports‚ ensure the frame is stable and upright. Use the provided Velcro straps or clips to reinforce the connections between the poles and corner supports for added stability.
Check all bolts‚ clips‚ and connectors to ensure they are tightly secured. Gently shake the frame to verify its sturdiness. If any part feels loose‚ tighten it immediately to prevent instability during use.
Pay special attention to the roof bars‚ ensuring they are evenly spaced and securely attached to the frame. Properly securing the frame guarantees a stable structure for the tent canvas and prevents potential damage from movement or weight.
Once the frame is fully secured‚ proceed to the next step of installing the tent canvas‚ confident in the structural integrity of your grow tent setup.
Installing the Tent Canvas
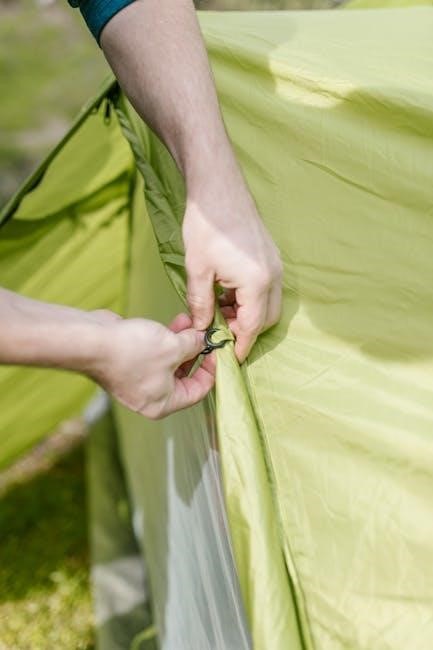
Gently pull the tent canvas over the assembled frame‚ ensuring proper alignment with the poles and corners. Secure it using Velcro straps or zipper pulls for a snug fit.
4.1 Placing the Canvas Over the Frame
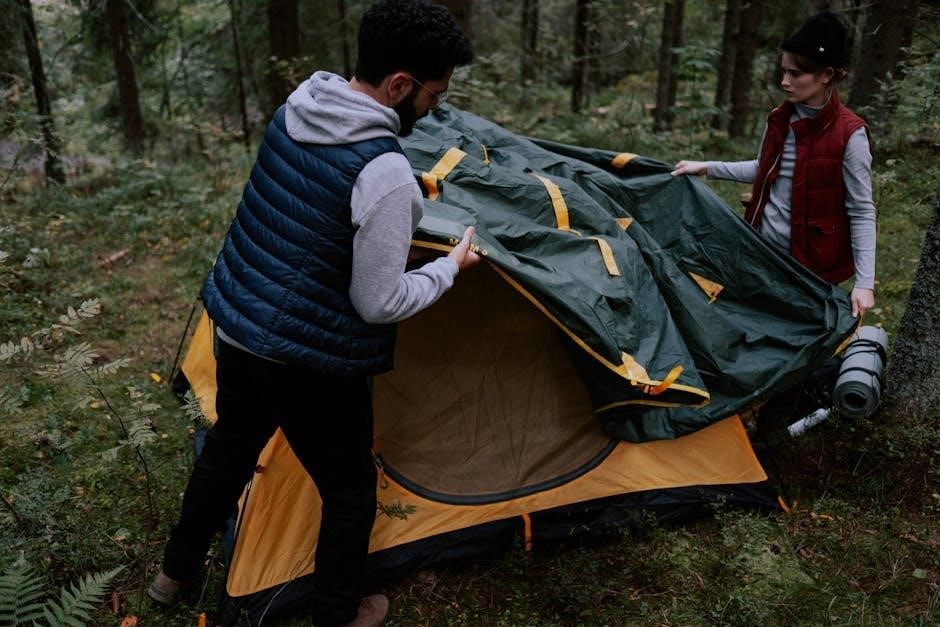
Start by carefully unfolding the tent canvas and positioning it over the assembled frame. Ensure the canvas is aligned with the frame’s corners and edges for a proper fit.
Begin by attaching the top corners of the canvas to the frame’s upper connectors. Gently pull the canvas downward‚ smoothing out any wrinkles as you go. Make sure the material is evenly distributed and not twisted.
Use the provided zipper pulls to guide the canvas over the frame‚ starting from the top and working your way down. Ensure the canvas is securely seated in the corner connectors and along the poles.
Once the canvas is in place‚ inspect the fit to ensure it is tight and evenly aligned. Any excess material should be adjusted to prevent sagging or uneven stress on the frame.
4.2 Securing the Canvas to the Frame
Once the canvas is properly placed over the frame‚ secure it by zipping the doors and attaching the Velcro strips to the poles. Ensure a tight fit to prevent sagging.

- Start by zipping the canvas to the frame‚ beginning at the top and working downward to maintain even tension.
- Use the Velcro attachments to fasten the canvas to the poles‚ ensuring a snug fit around the frame.
- Check that the canvas is tightly secured and evenly distributed to avoid wrinkles or loose areas.
- Inspect the corners to ensure the canvas is fully seated and zipped into place for a secure seal.
- Make any necessary adjustments to ensure the canvas is evenly tightened and properly aligned with the frame.
Additional Features and Final Touches
Install the floor liner‚ secure the canvas tightly‚ and ensure proper ventilation and door alignment for optimal performance and a professional finish.
5.1 Installing the Floor Liner
Lay the floor liner inside the tent‚ ensuring it covers the entire base. Secure it to the tent corners using the provided straps or Velcro attachments for a snug fit.
Tip: Smooth out any wrinkles to prevent water pooling and ensure even light distribution. This step is crucial for maintaining a clean and efficient growing environment.
5.2 Setting Up Ventilation and Doors
Attach the tent doors by aligning the zippers with the door frames and securing them tightly. Ensure all Velcro attachments are firmly pressed to maintain a seal and prevent light leaks.
Pro Tip: Double-check that all ventilation flaps are open for proper airflow. If using additional ventilation accessories‚ install them according to the manufacturer’s instructions.
Verify that doors open and close smoothly‚ ensuring easy access to the growing area. Tighten any loose connections to ensure the structure remains stable and secure.
Leave a Reply